
Putting A Finish On The Craftsman Desk Repair
Here's where the desk started out.


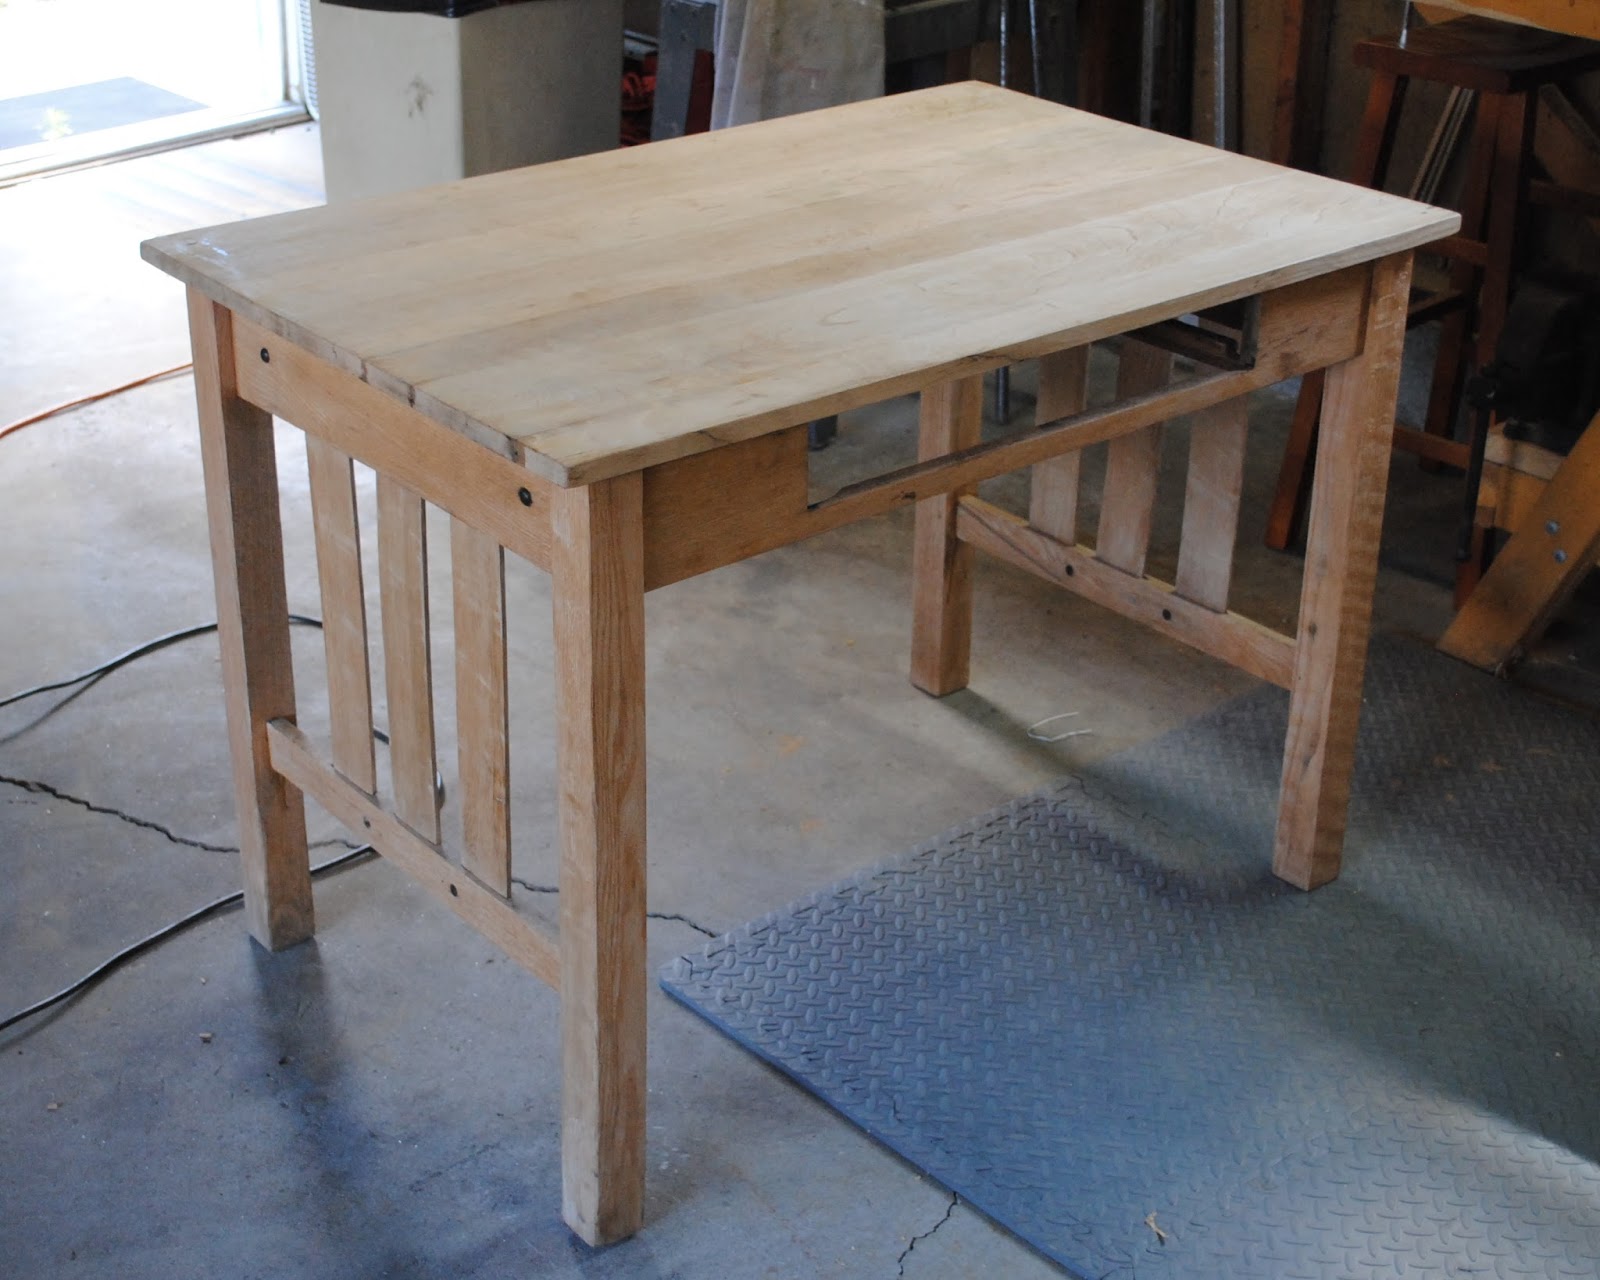
I put it through a series of repairs and removed all the old, beaten finish down to bare oak.

Getting the finish right was important. A great finish could make the difference between this looking like an average Craftsman style desk you can find in any furniture store. Again I went to the Craftsman Bible, Bob Lang's "The Great Book of Shop Drawings For Craftsman Furniture." and he didn't lead me wrong.
I gave the piece a quick finish sanding at 220 grit followed by a wipe down with a tack cloth. Then I wiped on two coats of Dark Walnut Watco Danish Oil and let it cure for two days. I gave it a light scuff buff with some steel wool and hauled the desk out of the shop and into the sun.
I then put on a half dozen coats of amber shellac. I buy the Bullseye brand from the local home center and cut it 2 parts shellac to 1 part denatured alcohol. Working in the sunlight is great because it speeds the already fast drying of the shellac and on a larger piece like this by the time you get to the end of one coat you can grab a quick drink of water and start over at the beginning again.
After the final coat of shellac I let it cure for a day, then a quick buff down with a finer steel wool to take down any dust nibs and even the surface. I followed this with a coat of paste wax and buffed that out by hand.
The results. . . I found them to be fantastic.


With the wax on there was nothing left to do but move the desk up the stairs into my daughter's bedroom. The trick was getting her to clean up, pick up, and move things around to open the space. I quickly shot some pictures before the clutter could crash back into place.

From a surprise of a project to start to some interesting repairs and problem solving to pull it together. This was a pretty fun and satisfying project. A good jump out of the gate in my new shop.
Ratione et Passionis
Oldwolf


I put it through a series of repairs and removed all the old, beaten finish down to bare oak.
Getting the finish right was important. A great finish could make the difference between this looking like an average Craftsman style desk you can find in any furniture store. Again I went to the Craftsman Bible, Bob Lang's "The Great Book of Shop Drawings For Craftsman Furniture." and he didn't lead me wrong.
I gave the piece a quick finish sanding at 220 grit followed by a wipe down with a tack cloth. Then I wiped on two coats of Dark Walnut Watco Danish Oil and let it cure for two days. I gave it a light scuff buff with some steel wool and hauled the desk out of the shop and into the sun.
I then put on a half dozen coats of amber shellac. I buy the Bullseye brand from the local home center and cut it 2 parts shellac to 1 part denatured alcohol. Working in the sunlight is great because it speeds the already fast drying of the shellac and on a larger piece like this by the time you get to the end of one coat you can grab a quick drink of water and start over at the beginning again.
After the final coat of shellac I let it cure for a day, then a quick buff down with a finer steel wool to take down any dust nibs and even the surface. I followed this with a coat of paste wax and buffed that out by hand.
The results. . . I found them to be fantastic.


With the wax on there was nothing left to do but move the desk up the stairs into my daughter's bedroom. The trick was getting her to clean up, pick up, and move things around to open the space. I quickly shot some pictures before the clutter could crash back into place.

From a surprise of a project to start to some interesting repairs and problem solving to pull it together. This was a pretty fun and satisfying project. A good jump out of the gate in my new shop.
Ratione et Passionis
Oldwolf


That came out great, good job.
ReplyDeleteLooks like a brand new piece.
The finish looks stunning, well done!
ReplyDeleteI would never have thought you could revive that piece to that level. I even love the knot. It looks better than it probably looked new.
ReplyDeleteDerek, the desk looks amazing! Great job.
ReplyDeleteVery nicely done indeed.
ReplyDeleteI hope that you remembered to include a page from this weeks newspaper in the drawer!
All best from Wales
Wonderful work. I love it when I can save an old piece of furniture, but I haven't done the quality of work that you did.
ReplyDeletecheers ian w
Nice Derek. It looks really great. I am sure your daughter will love the snot out of it and her children will remember that "mom always said Grandpa restored that desk for her". I know they will cherish it always.
ReplyDeleteReally nice work. As always I loved following along. Thank you!
ReplyDeleteChris