
The Studley Effect.
 |
| Photo courtesy of Narayan Nayar (Thank you buddy!) |
If it's a disease, it's a delightful one.
 |
| Crop from the photo above. |
I returned home, life returned to normal and in a little while the hammers showed up on my doorstep, and though they'd seen a hard life, they're wonderful.
I followed up by buying the Studley-esque register calipers from Lee Valley.

I am not a tool collector, I try very hard to fill my chest with tools that earn their keep. The register calipers do that, to a point, and the hammers may come in handy in some instances, but they are both excess. They are the type of tool that warms my heart to handle, I could almost use the word fondle.
They required something better than being tossed into the tills of my chest and rattled around for several decades. They required something Studley to hold them. The Studley cabinet loaded with tools is opulence and wonder, the Studley cabinet with the tools removed is a challenge to any woodworker. Doubt me? Narayan's photos are in the book, study them for a bit. You'll agree with me.
An entire cabinet is too much for three tools, but I took inspiration from a couple of the removable frames in the cabinet and decided to make an appropriate home for these tools myself. To test myself today against the skill and ingenuity of Studley.

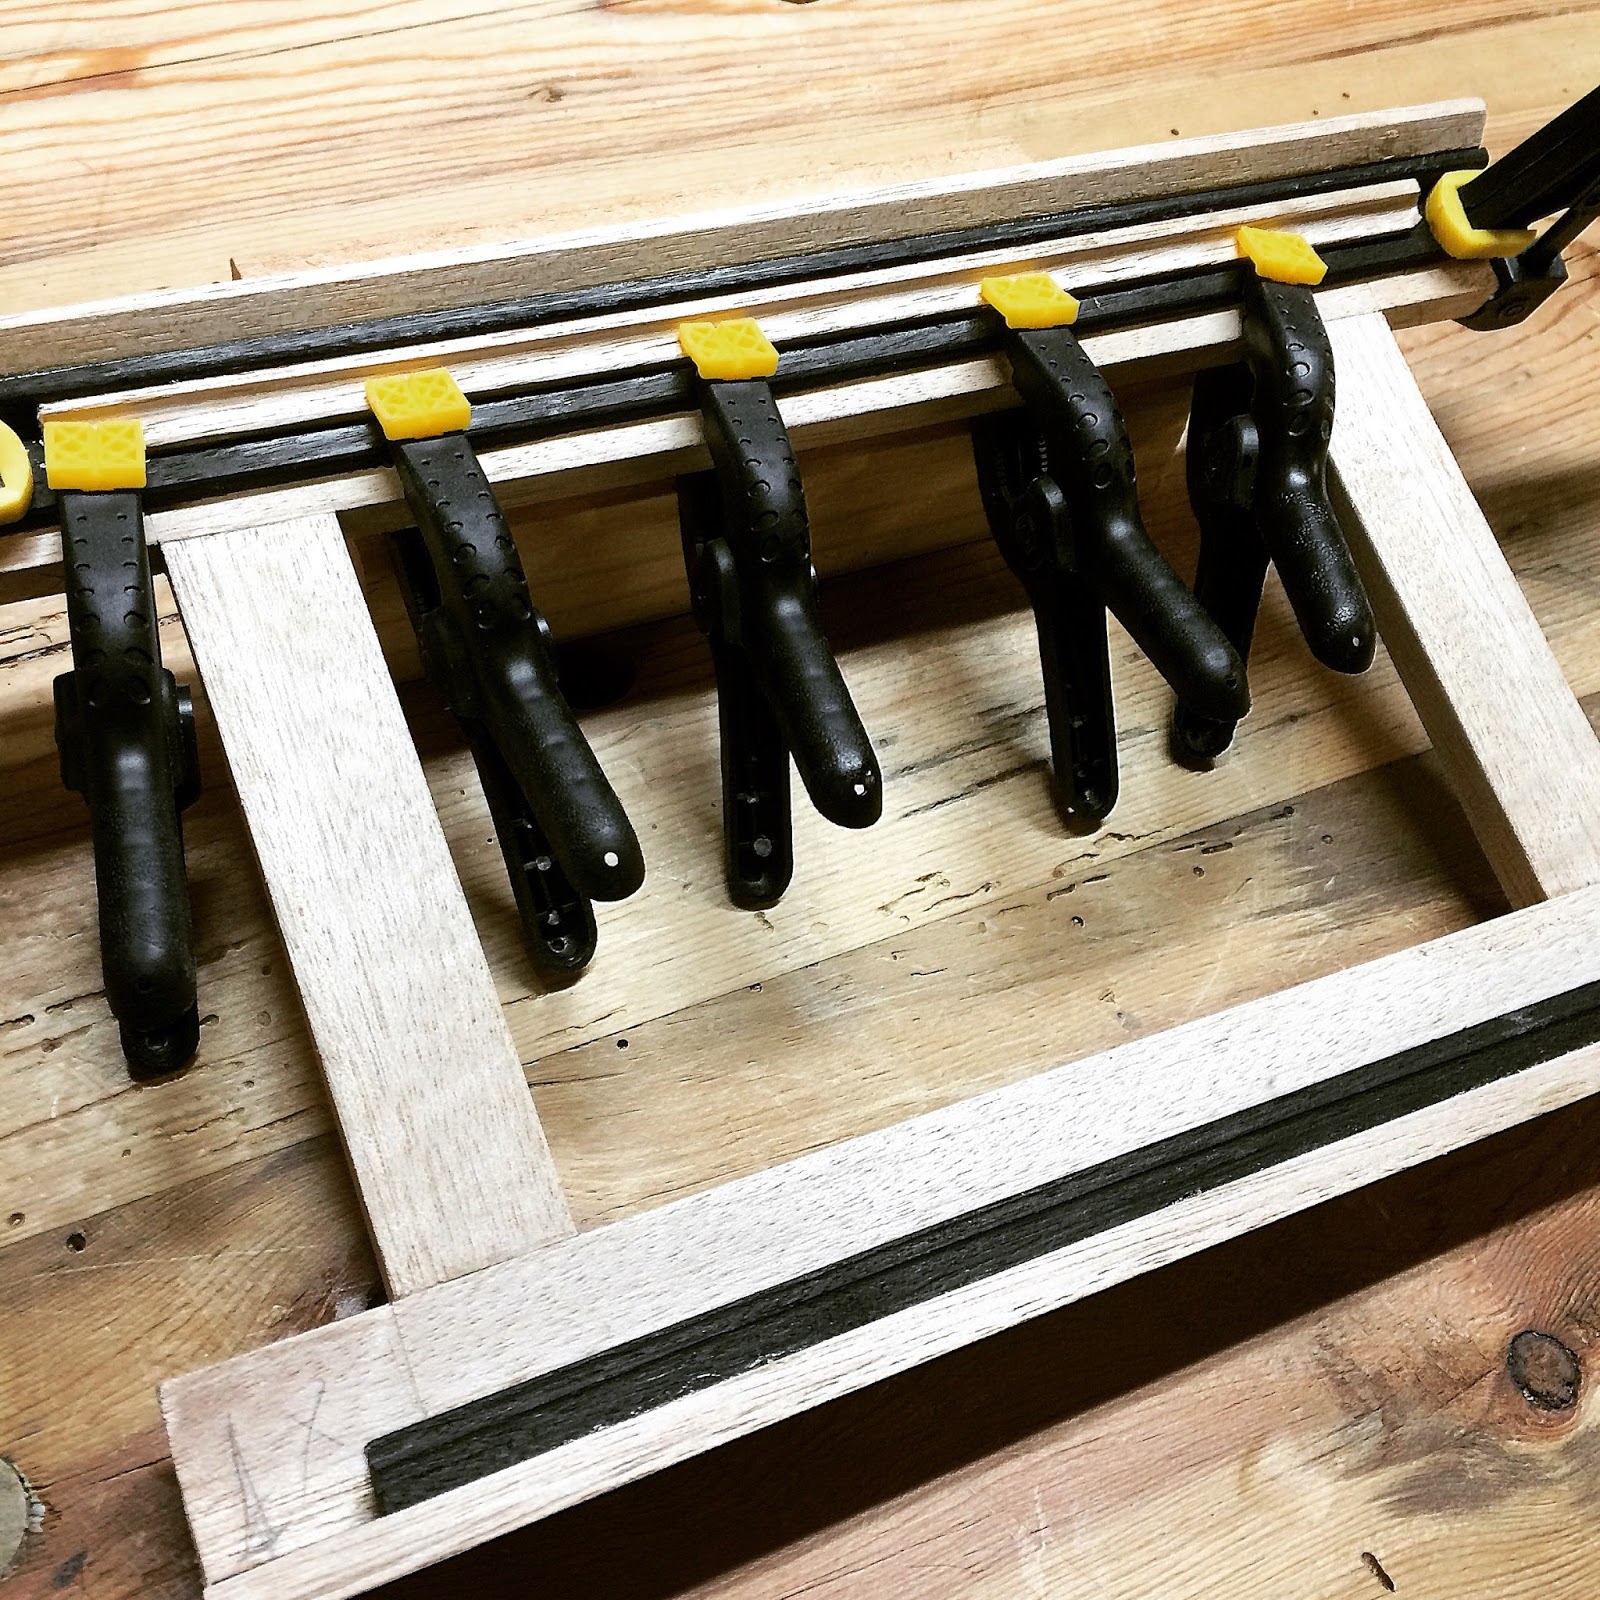
I had a small stick of mahogany, not the genuine kind, the African kind, enough to mill down into the parts of the frame. Coming in at around 3/8" thick it took some fine chiseling to create the mortise and tenon joints.

Once the frame was assembled I started work on the moulding elements. Lacking any ebony I made the darker elements from walnut and ebonized them in a small ammonia tent for a while. Once I freed them from the bog of eternal stench I still wasn't pleased with their darkness so I stained the wood further with black india ink.
I especially enjoyed designing the layered moulding elements along the one side. A trick I haven't had to pull of in furniture much before, but something I'm looking forward to doing more of.
I let the frame percolate a while before I came up with the next design element. Dots and darts of course. But instead of marrying mother of pearl or some lighter element to the already light colored mahogany I chose to inlay a darker colored veneer.
This meant sawing out several matching elements and the marquetry trick of bundling a packet of veneer together seemed the best trick. Four small sheets of veneer between two thicker sections of pine, all bundled with tape. A little time with the fretsaw and I had what I needed for darts.

I made a punch from a metal tube by grinding and sharpening one end and used that to cut the dots. Then I laid things out on the frame and cut away for the inlay with chisels and carving tools before gluing it all down with hot hide glue.

The work on this frame was not fast. I spent a long time, sometimes a month or more, pondering elements and stages before moving on. In fact devising the holding for the hammers themselves took a lot of navel gazing. But there is one element of art school that I have always held dear. The lesson of pushing my boundaries.
Everything was set, The tool holding, the oil finish was on and dry, but an element of sparkle was missing. Something to reflect light the way the tool chest does. This lead me to step up to a plate I have been putting off for a while. Gold leaf gilding.

For at least one (if not several) pieces in the medieval furniture book I'm writing, I will have to attain a certain amount of comfort water gilding techniques, but there are other techniques using oil size and slow set adhesives as well. A local hobby store sold the adhesive so I thought I'd give it a try on this smaller project.
After some work scraping and refining the work I achieved the look I wanted, though I'm not completely satisfied. I will not be using much of the adhesive in the future, it left a texture to the leaf I don't like.

In the end the frame was done. I packed it up and shipped it off to it's new owner. The hammers were intended as a gift to a good friend who gave me the opportunity of a lifetime. I will hold off on posting the final pics of the project until I'm certain it's in his hands.
Ratione et Passionis
Oldwolf


Next time you're doing some leaf gilding, try plain old PVA as the ground. Spread it on the shape you're gilding, let it try and then just breathe on it a few times before laying the leaf on top and burnishing it. You can do an iron oxide undercoat as bole before the PVA if you like.
ReplyDeleteI know I have a lot to learn and investigate when it comes to gilding options and techniques. My first inclination is to follow Don William's example and use hide glue gesso to ground and the armenian clay bole.
DeleteI will play some with the PVA for certain now.
Thank You!!
D