
Dovetailing For The First Time . . . Again.
This morning I got a taste of a dream. I've been working a string of PM shifts at my regular job the last two weeks. When I'm on this shift it seems like I can never get into the shop, but this morning was a little different. I was up and woke the kids up for school, the oldest two get on a different bus to go to the middle school and have to be up an hour before the youngest. After I got the youngest up I decided not to go back to bed but to head out for the shop. So I waited around a little bit, drove her to elementary school, and then drove to the shop.
On my way to the shop I couldn't help but smile at how nice the morning had been. I so need to go pro at making sawdust so I can follow this routine most every morning. Get up, take the kids to school and be in the shop by 8:30 or so, work until I'm satisfied and go home smiling. Ideal. Hopefully baby steps will get me there soon.
Today I conquered another challenge in my shop, one that has been strangely intimidating to me for a long, long time. The hand cut, half blind dovetail joint. I love cutting through dovetails, one of my favorite things in fact. I'm good and fairly quick at it. but the half blind has always stood there looking over my shoulder, taunting me. I had read about it but it seemed out of reach. Then I found something cool.
I know I have said here how I am not much for videos and podcasts on the internet. Most of the time I just don't get that much out of them. I would like to temper that statement now by saying that I have learned some very cool things from videos that do seem to translate best that way. The Logan Cabinet Shoppe gave me the confidence to try sharpening my own hand saws. Videos of Peter Follansbee carving really taught me how effortless it could be. Then there was the Frank Klause video where he cuts a dovetail joint in under three minutes, that was amazing, but that was followed by Rob Cosman cutting a through dovetail joint in three and a half minutes using a more traditional approach.
On the heels of his through dovetail video Rob Cosman raised the bar high, cutting a half blind dovetail joint in six and a half minutes. I watched this video on youtube for the first time several months ago, and since them I have been coming back to it, I'd say at least a half a dozen times. (If you haven't see it you can watch it HERE.)
I really appreciated Rob's video, all by itself it gave me the tools and mind set to get the job done. When I was designing the saw till I've been building for the shop I knew I wanted to add a drawer to hold the files and other accoutrement of sharpening. As soon as it hit the paper I knew this was going to be my shot at a half blind dovetail. Still it was intimidating, building drawer themselves are, I think, a tough thing to get perfect. So in my usual fashion I put it off and put it off until last. This morning there was no more excuses. It was time to tackle the beast.
Starting stock after it's been ripped to width on the table saw

 Marking for the groove for the bottom insert
 Cutting the groove with the router plane, this went easier than I thought it would, except for one area
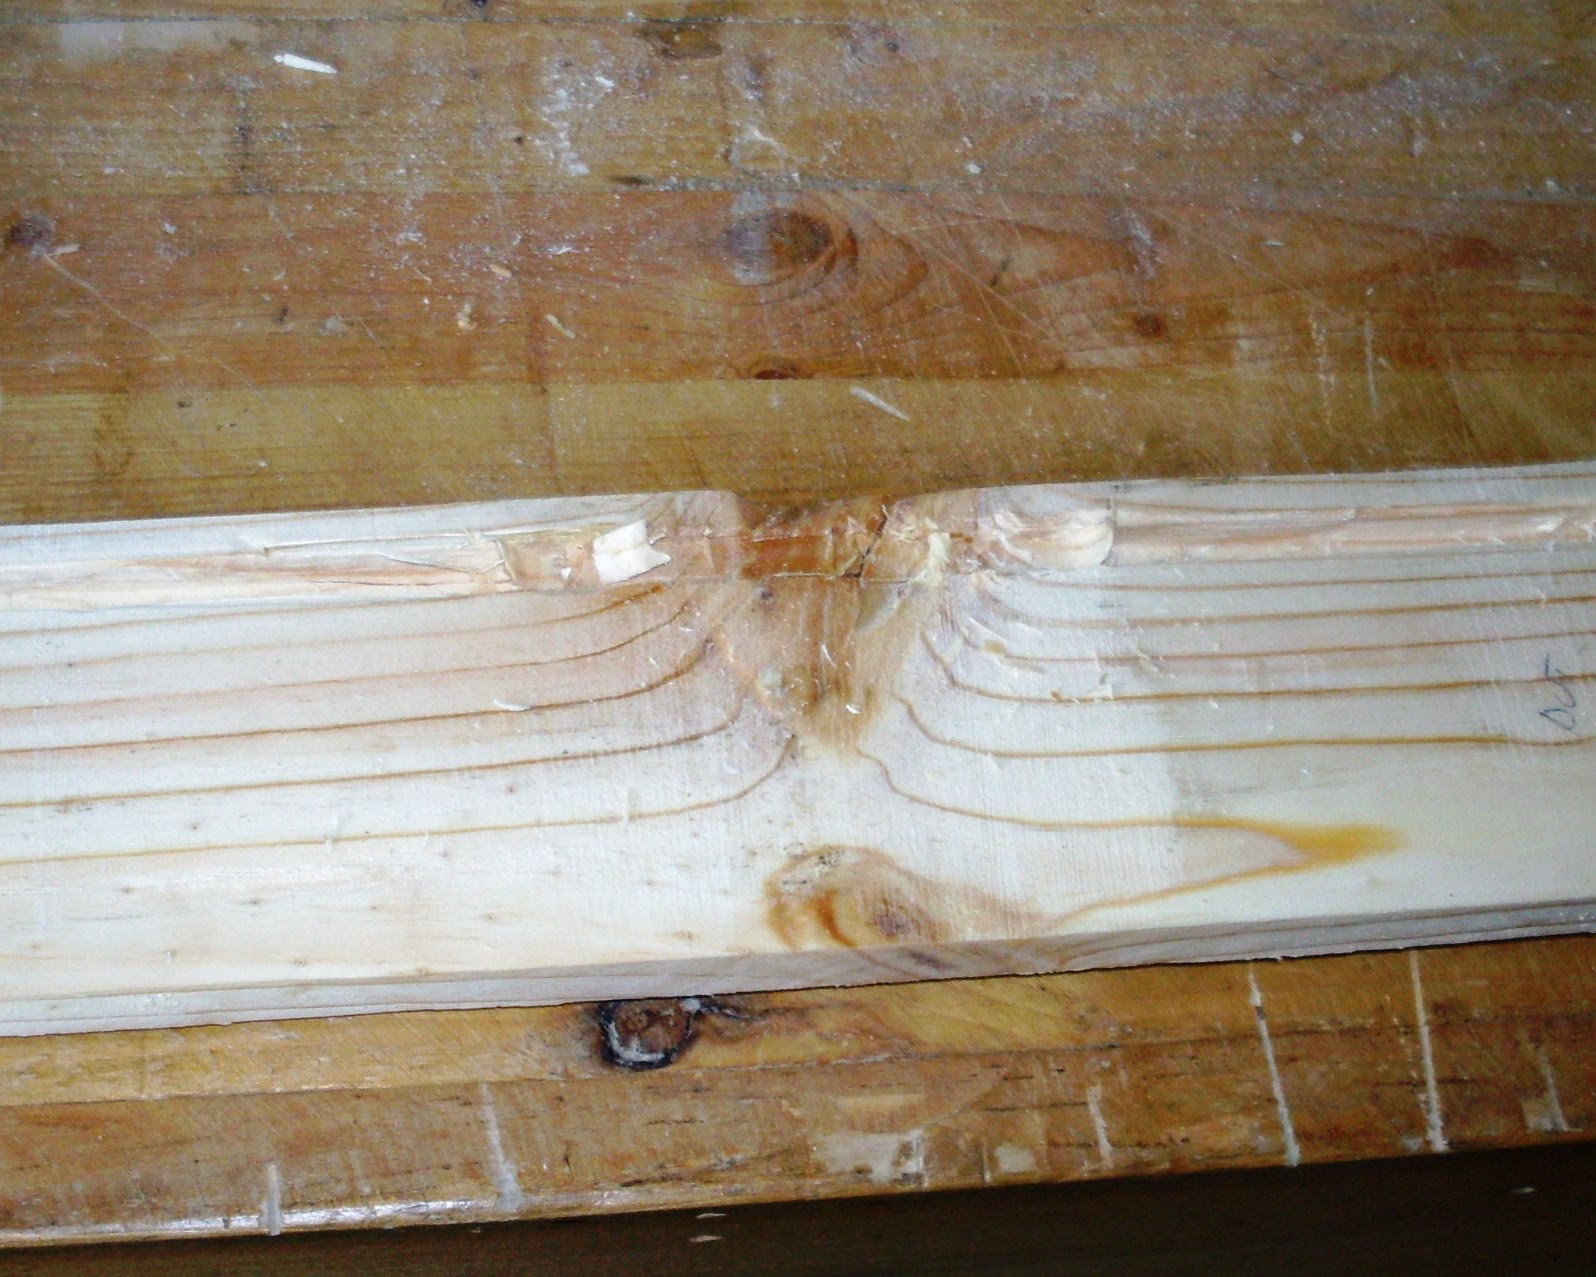
 This big knot in the back section of the drawer wouldn't cut with the router plane. I chipped the hell out of it trying to fix the groove with a chisel,
 So I just cut it out. It's in the back and the cut is below the bottom panel, I'm the only one who will know its there.
 I marked things up with the marking gauge.
 I then marked out to cut the tails in the sides. This went pretty standard. Except I think I was so focused on the work to do to cut the half blinds, when I first started laying out things it was like I had my head on backwards. Thank god I've done this enough that I knew things weren't looking right, so I stopped and took a step back and actually walked away from the work for a minute or two to clear my head. When I could visualize the steps I was going to take again I stepped back in and remarked for the tails. Now things looked right, but you can still see the faint pencil lines of my mistakes in the photos.
 Then I balanced the side piece along the corresponding side of the face board and marked out there the pins would fall.

 The working with the saw at an angle I sawed as much of the pins out as possible. Yes I did extend past my marking gauge line but in reading Glen Huey's book "Building 18th Century American Furniture" he explains that this actually was a pretty common practice, and since it was good enough for them. . .
 Now it's on to chiseling out the waste. Very sharp chisels are really vital to this as there is a lot of paring
 All finished being cut out.
 And the dry fit, some gaps but not bad for a first take on a new skill. For the saw till this is more than acceptable to me.
 I cut some through tails for the back board, dry fit the four corners together and tah dah. . . we have a drawer sans bottom. (re-sawing some for the bottom is the last step before final finish and hanging.)
 I couldn't help myself I gave it a test fit in the till. It looks a bit out of place but without having a finish on it I guess I would expect it would. I'm playing with the idea of cutting a bead around the outside edge of the drawer. I have a pair of wooden knobs to go on and we'll call it done.
 So the next post should be the finale of the saw till. From there we'll move on to some other interesting things, what to know what? Stay Tuned.
Cheers
Oldwolf
On my way to the shop I couldn't help but smile at how nice the morning had been. I so need to go pro at making sawdust so I can follow this routine most every morning. Get up, take the kids to school and be in the shop by 8:30 or so, work until I'm satisfied and go home smiling. Ideal. Hopefully baby steps will get me there soon.
Today I conquered another challenge in my shop, one that has been strangely intimidating to me for a long, long time. The hand cut, half blind dovetail joint. I love cutting through dovetails, one of my favorite things in fact. I'm good and fairly quick at it. but the half blind has always stood there looking over my shoulder, taunting me. I had read about it but it seemed out of reach. Then I found something cool.
I know I have said here how I am not much for videos and podcasts on the internet. Most of the time I just don't get that much out of them. I would like to temper that statement now by saying that I have learned some very cool things from videos that do seem to translate best that way. The Logan Cabinet Shoppe gave me the confidence to try sharpening my own hand saws. Videos of Peter Follansbee carving really taught me how effortless it could be. Then there was the Frank Klause video where he cuts a dovetail joint in under three minutes, that was amazing, but that was followed by Rob Cosman cutting a through dovetail joint in three and a half minutes using a more traditional approach.
On the heels of his through dovetail video Rob Cosman raised the bar high, cutting a half blind dovetail joint in six and a half minutes. I watched this video on youtube for the first time several months ago, and since them I have been coming back to it, I'd say at least a half a dozen times. (If you haven't see it you can watch it HERE.)
I really appreciated Rob's video, all by itself it gave me the tools and mind set to get the job done. When I was designing the saw till I've been building for the shop I knew I wanted to add a drawer to hold the files and other accoutrement of sharpening. As soon as it hit the paper I knew this was going to be my shot at a half blind dovetail. Still it was intimidating, building drawer themselves are, I think, a tough thing to get perfect. So in my usual fashion I put it off and put it off until last. This morning there was no more excuses. It was time to tackle the beast.
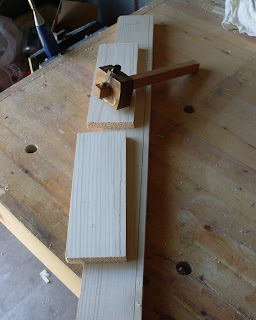
Starting stock after it's been ripped to width on the table saw

Re-sawing the sides and back down to 1/2" thick on the bandsaw. The face board was left at a full 3/4" thickness


Cheers
Oldwolf


Looking good! I like the look and layout of your till. Definitely on my to do list. Great job on the half blinds too. I love that you used the old trick of cutting past the lines on the drawer front. To me, this screams old school dovetailing and lets everyone know their looking at hand tool work, not some router jigged cr*p.
ReplyDeleteJamie Bacon
Looks great. This is the best way to get practice. Make something to use. when you see them doing the examples they love doing it in hardwood. That pine makes it a lot harder. You have to kind of predict how it will behave as you go through the alternating hard and soft rings. One trick is to keep a strop next to you and keep touching up the edge to stay as sharp as possible. If you even think it is getting dulled, stop it.
ReplyDeleteThose look fantastic! I haven't practiced dovetail cutting in a while, and I have never tried to do half blind dovetails. You have inspired me. I may give it a go this weekend...but not until after the OSU vs. miami game! Go Buckeyes!
ReplyDeleteThanks guys, I'm not really sure why I put them off for so long. . . but it did ad to the cheap thrill of having them come together OK. I love dovetails and I kind of try to fit at least one into every project, sometimes that doesn't work.
ReplyDeleteObviously I was using pine here and I actually use pine a lot, David I know you're from down south and I wonder if its the difference in pine regionaly because the northern white pine I was working with here cuts like butter even with a chisel, and it's cheap. I bought the 1x10s for this project at just under a dollar a board foot. Red Oak is pretty reasonable around here too.
I've been thinking about branching out into another type of wood I haven't had the pleasure of cutting into yet, My wife is talking about a piece for our new apartment and I may just have to talk her into cherry...
Brian, glad I could inspire you, I suggest you study the video by Cosman and then go have some fun.
Southern yellow pine can be like alternating bands of balsa and oak. Makes it hard to sand as well. You can end up with something that looks like a topographic map if you are not careful.
ReplyDeleteBut for local wood, about the only choices I have (other than imported and big box stuff) is mesquite and Texas ebony. Ahh, the price we have to pay...
I just wish it were easier and cheaper to get as lumber.
I have to admit I'm pretty lucky up here in Wisconsin where I can get my hands on a several species of local hardwoods and softwoods, It never occurred to me how that might be more difficult in different parts of the country.
ReplyDeleteWhen ever I hear about SYP I can't help but think of the way Chris Schwarz writes about it kind of romantically. You don't make it sound so great my friend :) the thought of Mesquite is kind of intriguing though. I imagine it's a hard wood, but is it fairly straight forward to work or does it make you earn it too?
The mesquite has a high silica content and will eat cutting tools for lunch. It also will turn your hands a nice purple with all the tannins. Overall it really is nice though. Pretty fine grained, dense, and generally stable. It is much like teak without the oil.
ReplyDelete