
Check Your Drawers.
OK admittedly an immature title, but I am what I am.
I'm working through a rebuild and refinish of an antique chest of drawers and I have finished an almost complete disassemble and reassemble of the carcass and it was time to work on some of the other details. The chest has four drawers and three of them were in decent shape but the fourth one had taken a beating over the years.


 I know the pictures were to show the damage that I faced, but even as I look at the pictures I have to say I am still blown away by the simple width of the bottom panels. Those are one width poplar panels you can see the circular marks from the re-sawing on the bottom side and the top is planed smooth. I hate plywood, I'll use it if I have to but I seriously wish I had stock like this available on a regular basis, I would never even blink in plywood's direction again.
As you can evidence from the photos the majority of the damage came as the bottom of the sides wore down in use and this over time lead to the back separating from it's dado and the front developing a fracture along the bottom.
 I pulled the whole drawer apart. Thank god again for hide glue being reversible with denatured alcohol. I'm not sure what I would have done if I couldn't pop apart the dovetailed corners and cut out the damage. Some of it was pretty straightforward, a little glue and clamp fixed the split suffered by the front of the drawer. The sides however were another story.
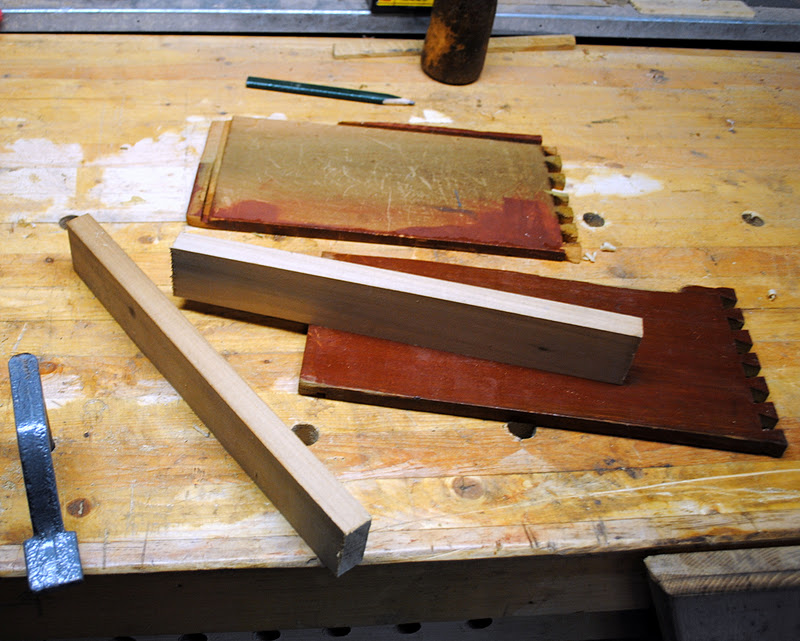
 I considered replacing the sides all together. I had a 1x poplar cutoff sitting in the bin that was wide enough to do the job, but there was something that was just unappealing about that. Instead I decided to cut off the damaged areas and edge glue in repair pieces.
 I started by cross cutting the poplar to length.
 Then rip the strips of the appropriate width. When I'm cutting these smaller, shorter pieces I often like to work right off the bench with an overhand grip on the saw instead of working off a lower saw bench.
 A little plane work to clean up the saw marks and I had a couple of 1 1/2" pieces. I like hand sawing, but I don't really like re-sawing to thickness by hand and I needed to get these 3/4" thick pieces down to 1/2" thick. Cue the bandsaw.
 A little more plane work to clean up the saw marks and bring the piece down to a final, matching thickness.
 Then the trick was to decide where to make the cuts and sacrifice the original sides. on one side the dovetail end was in good shape and so the trick was to remove just the back section. I knifed in a cut line, took a deep breath and made the cut.
 Some hide glue and some clamps and I had the simpler side repair done. I would come back after the glue dried, cut it to length and get the final shaping done.
 The other side I ripped off square and glued in the repair piece. I didn't worry about replicating the width at this point, I would plane it to the width later.
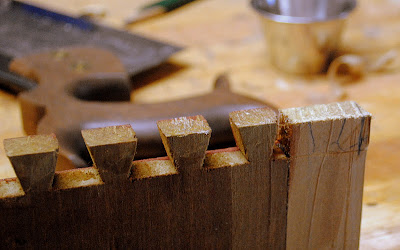
 I had to sacrifice one of the original dovetails to get the board properly repaired so I had to cut a new one.

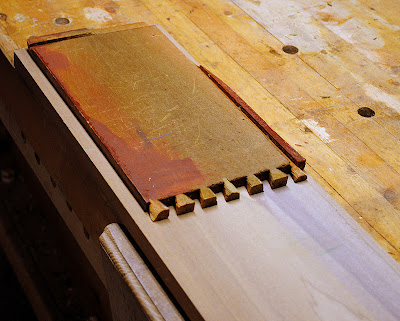
 To finish off the repair I had to plow some new grooves into the sides, one to hold the drawer bottom and one to make the rabbet and dado joint that held the back of the drawer.
 There is one major hand tool that I have not managed to get my hands on and that is a plow plane, I have a Stanely 45 on my shelf I have yet to refurbish but I have been holding off because it only came with one iron, a beading iron, which is not a whole lot of help. I just haven't been able to find any blades for a price I can afford, so for making grooves like this I use my router plane, actually and excellent tool for the job.

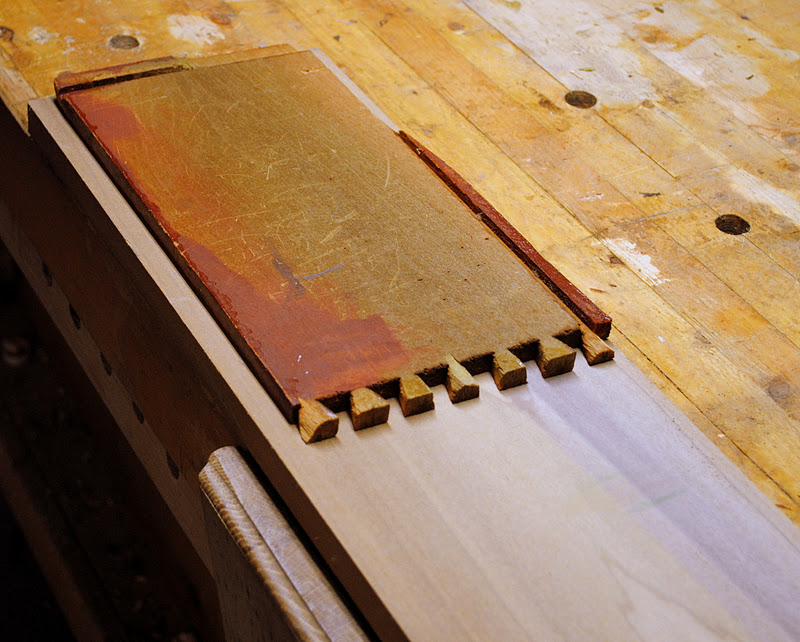
 And some shots of the repairs in place as the drawer is glued up to finish.

 Ratione et Passionis
Oldwolf
I'm working through a rebuild and refinish of an antique chest of drawers and I have finished an almost complete disassemble and reassemble of the carcass and it was time to work on some of the other details. The chest has four drawers and three of them were in decent shape but the fourth one had taken a beating over the years.


As you can evidence from the photos the majority of the damage came as the bottom of the sides wore down in use and this over time lead to the back separating from it's dado and the front developing a fracture along the bottom.


Oldwolf


I highly recommend getting the blade(s) to get your #45 working as a plow (try St. James Bay for unhardened new blades, maybe ask Walt at Brass City Records for tempered).
ReplyDeleteI don't know how I managed without mine. If I had known how much time a plow saves, I would have bought the Veritas small plow a long time before I picked up my #45--and the Veritas costs many times what I paid.
(Of course, you still need the router plane.)
Awesome! You just solved a huge issue for me! Instead of a Roubo-style height adjustable planing stop on my bench I opted for planing battens with short dogs in them, because I found with my old bench I always just left the batten in place anyways. Unfortunately, this doesn't work well for really narrow stuff, like in small boxes. I've tried making thin battens and things, but it hasn't worked out. I also tried various ways of clamping rulers and scraps of steel sheet to my bench, but they slide all over the place.
ReplyDeleteNow I can use hold downs with a framing square! Lots of space to grab with hold downs, all out of the way, perfect! Thanks!