Fix a Chipped or Nicked Plane Blade
Writing a woodworking blog leads to questions. My questions and your questions.
Often I spend my words on this blog trying to answer my own questions. In the background I get several emails a month by other woodworkers with questions of their own. I find this highly flattering and I am always happy to help answer a question if I can, or help point someone in the right direction if I'm just as stumped as they are.
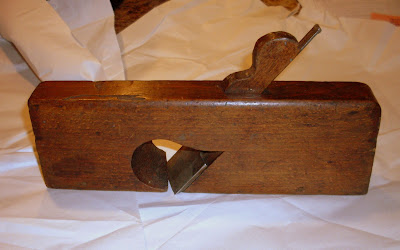
Over time I have noticed a pattern, maybe one out of every five questions I get is about fixing a severely nicked or chipped plane blade. Recently I picked up a nice wooden shoulder plane with a skewed blade for just five dollars and had the chance to get some pictures of fixing a sizable chip in the blade
She was a beauty. Sitting pretty on the shelf in the antique store, surrounded by a dozen other molding planes. The tag tied to the narrow end of her blade was written in black sharpie. I saw the nick in the blade, the one flaw to her beauty but it only made her more irresistible. At only five dollars I had to take her home and make some room for her in my tool chest.
Here is the chip, pretty sizable and on the working corner as well. The only solve I know of for something like this is to grind the nick out. That means grinding the length of the blade back until the nick is removed
I have to remove a decent amount of blade to fix this one, but there's no worries, there's plenty of blade left. The black line here is photo-shopped in but in reality I did use a sharpie to mark a right angle across the blade to work the chip out.
I have a plywood tool rest I use in conjunction with my grinder. It helps me grind off the steel at close to a 90 degree angle to the back of the blade.
Here is the edge of the blade with the nick about halfway ground out.
Then I take away the platform and freehand grind the cutting bevel of the blade back down to sharp, or as close to sharp as a grinder can get.
Then I run the blade through my version of a sandpaper sharpening system. I use man made stone tiles from a home store and I run through six grits on the bevel and then lighter on the back of the blade. The progression goes 320, 400, 600, 1000, 1500, and 2000. Usually I use a simple eclipse style guide but there are times it doesn't work, like the skewed blade for this shoulder plane. When that happens I free hand the process.
Ratione et Passionis
Oldwolf


Comments
Post a Comment