
Breaking Down Odd Stock
As I began the journey of building a pair of boxes to hold cremation remains in a ground burial vault (you can read the specifics HERE) I had a pair of odd sized boards to break down into regular useable stock.

These walnut boards measure around 16" at their widest giving 7 to 8 foot of length. They were given to me by Bob several years ago and they came from a tree that blew over on the farm he grew up on and that was milled into lumber. Most of the tree went to make a very nice desk that is still in use, I couldn't tell you the date but to hear the stories he had it made right around the time of my wife's birth, forty plus years ago. I don't know how long he hauled the boards around before that.
He kept these two left over stragglers with large sections of crotch grain and told me many times he had intended to make a "very neat" coffee table from them. They lived in leaky garages and sheds until I was given them about seven years ago. He asked after them a bit, wanting to know what I'd made with them, and my response came to be that the boards were too dried out to do anything really with. Not a whole truth but in honesty I was at a loss when it came to how to use them.
By the time I got them large cracks had developed in the wider areas, and splits up from the narrower ends. Dry rot, punkiness, and some bug holes were problems on either end where they'd sat on dirt or concrete, semi exposed to the elements for decades. The shape was odd, triangularish, rhoboid, well odd let's just live with odd as a description. They looked like wide boards but sure didn't look useable as wide boards.
Then Bob passed away and I was discussing the building of these boxes with my wife and she reminded me of these boards. Now there was the perfect project they'd been waiting decades for. But how do you break them down to useable stock?

I pulled them out of the lumber rack and leaned them up against the wall for several days while I finished up a few other half done projects. I needed to get boards finished at 6 1/2" wide from these pieces, as much of it as I could. Both had a mostly flat edge along one side and I decided to start by jointing it out.
Lacking a leg vise doesn't usually bother me but handling stock like this makes it interesting. I supported the board on one of my saw benches. I used a holdfast in the deadman on one end and a clamp across from the other side of the bench to level out the flat area and hold the board.

Then it was just down to work with my #7. I didn't really have what anyone would call a "true face" to reference square off of, I'd just lean down and eyeball the edge every couple strokes to make sure I wasn't tilting or doing something else weird.
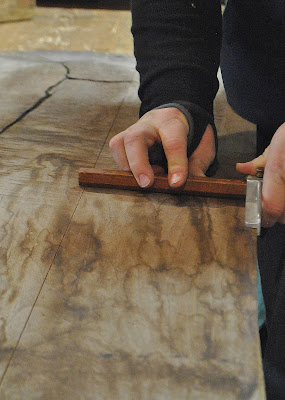
Once I had the flat I set my panel gauge to 7" and scratched a line.

I used a ruler to extend the line out past the points where the flat ended. Then I headed back over to the saw benches.

This stuff is shy of 3/4" thick and a 5 TPI rip saw made quick and easy work out of it. In a minute I had one board close to my desire.

On the wider board I marked a square line just inside any cracks or nastiness and cross cut those off.

I repeated the process on the second board. Then I wheeled the tablesaw from the corner because the tablesaw excels at perfectly parallel. I ran the straight edge through at 6 3/4" then ran the other side through at a hair past my 6 1/2" so I can swipe off the machine marks later.

Without mistakes I need total around 52" of material for a box. I managed to get enough good stuff for three and a half boxes. I'm not unhappy with this yield and better yet I'm satisfied I've found the right use for this walnut that has seen such a journey to get to this point.
Ratione et Passionis
Oldwolf

These walnut boards measure around 16" at their widest giving 7 to 8 foot of length. They were given to me by Bob several years ago and they came from a tree that blew over on the farm he grew up on and that was milled into lumber. Most of the tree went to make a very nice desk that is still in use, I couldn't tell you the date but to hear the stories he had it made right around the time of my wife's birth, forty plus years ago. I don't know how long he hauled the boards around before that.
He kept these two left over stragglers with large sections of crotch grain and told me many times he had intended to make a "very neat" coffee table from them. They lived in leaky garages and sheds until I was given them about seven years ago. He asked after them a bit, wanting to know what I'd made with them, and my response came to be that the boards were too dried out to do anything really with. Not a whole truth but in honesty I was at a loss when it came to how to use them.
By the time I got them large cracks had developed in the wider areas, and splits up from the narrower ends. Dry rot, punkiness, and some bug holes were problems on either end where they'd sat on dirt or concrete, semi exposed to the elements for decades. The shape was odd, triangularish, rhoboid, well odd let's just live with odd as a description. They looked like wide boards but sure didn't look useable as wide boards.
Then Bob passed away and I was discussing the building of these boxes with my wife and she reminded me of these boards. Now there was the perfect project they'd been waiting decades for. But how do you break them down to useable stock?

I pulled them out of the lumber rack and leaned them up against the wall for several days while I finished up a few other half done projects. I needed to get boards finished at 6 1/2" wide from these pieces, as much of it as I could. Both had a mostly flat edge along one side and I decided to start by jointing it out.
Lacking a leg vise doesn't usually bother me but handling stock like this makes it interesting. I supported the board on one of my saw benches. I used a holdfast in the deadman on one end and a clamp across from the other side of the bench to level out the flat area and hold the board.

Then it was just down to work with my #7. I didn't really have what anyone would call a "true face" to reference square off of, I'd just lean down and eyeball the edge every couple strokes to make sure I wasn't tilting or doing something else weird.
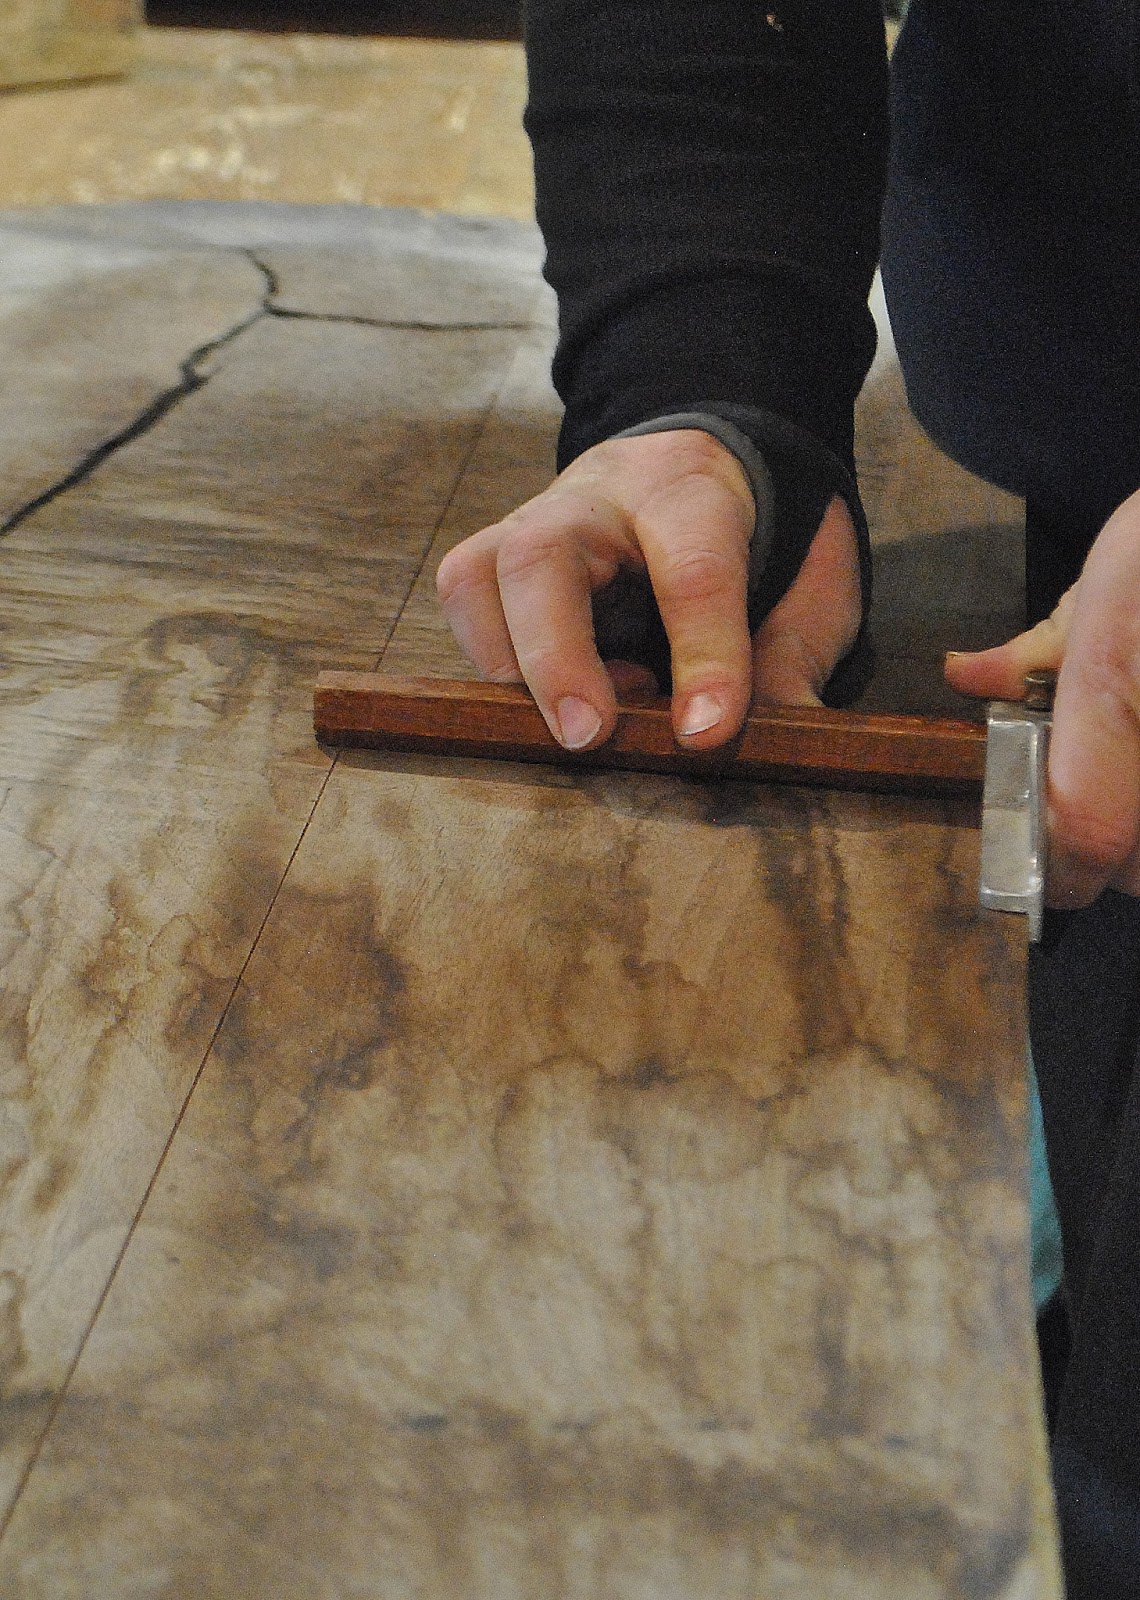
Once I had the flat I set my panel gauge to 7" and scratched a line.

I used a ruler to extend the line out past the points where the flat ended. Then I headed back over to the saw benches.

This stuff is shy of 3/4" thick and a 5 TPI rip saw made quick and easy work out of it. In a minute I had one board close to my desire.

On the wider board I marked a square line just inside any cracks or nastiness and cross cut those off.

I repeated the process on the second board. Then I wheeled the tablesaw from the corner because the tablesaw excels at perfectly parallel. I ran the straight edge through at 6 3/4" then ran the other side through at a hair past my 6 1/2" so I can swipe off the machine marks later.

Without mistakes I need total around 52" of material for a box. I managed to get enough good stuff for three and a half boxes. I'm not unhappy with this yield and better yet I'm satisfied I've found the right use for this walnut that has seen such a journey to get to this point.
Ratione et Passionis
Oldwolf


Very Nice post, have a Happy Thanksgiving,
ReplyDeleteBest to you and your family,
Doug