
Making The Till
I have been writing out the process I went through in building an Oldwolf Workshop version of a Medieval Hutch Chest. If you are coming in on the middle of the saga you can catch up on where we've been by clicking on the link HERE.
Here I am using a whole article to explain just how I fit and set the till for the chest. A till is at least the verbiage I use for the small segregated area on one side of the chest's interior. Its a nice place to store more delicate or smaller items.
 I have put in several tills in past chests and I have used several techniques to pull it off, hidden dowels or biscuits mostly. Those techniques worked well but they left the possibility of a gap if I didn't have surfaces perfectly square and the glue up was very difficult to pull off without five hands. No matter how hard I try I still only have two hands, but even if I had five I bet I'd wish I had six. . .
 This time I was using thinner panels than before as well. The chest dimensions are 10 1/2 inches deep on the inside, so these panels were cut at 11 inches long by 5 inches wide by slightly under 3/8th inch thick. Instead of using any of my previous techniques I decided to go with the one described with the till in the school box in "The Joiner and Cabinet Maker" where the Thomas character cut some dados for the panels to ride in.
I had the choices of using a 1/4" straight bit in the router to plow out these grooves, but honestly, in those situations I feel like I have less control than I'd like. So I stayed with the hand tools on this one, besides any excuse to use my router plane. I carefully measured, and remeasured, and remeasured again to set out where I wanted the dado's cut using a carpenter's square to set the angle at a good 90 degrees and making sure there was space for the lid to lay down flat with the larger chest lid closed. I then shortened the dado on what would be the upright panel by another 3/8ths inch so I could cut a haunch in the panel to help hide the dado. With a 1/4" drill bit I bored the ends of the cut to a 1/4" deep.
 Then I used a 1 inch chisel to start all the lines to help keep the cut crisp on the surface. A couple strikes with the mallet, just to score down a 16th of an inch or so was a good start
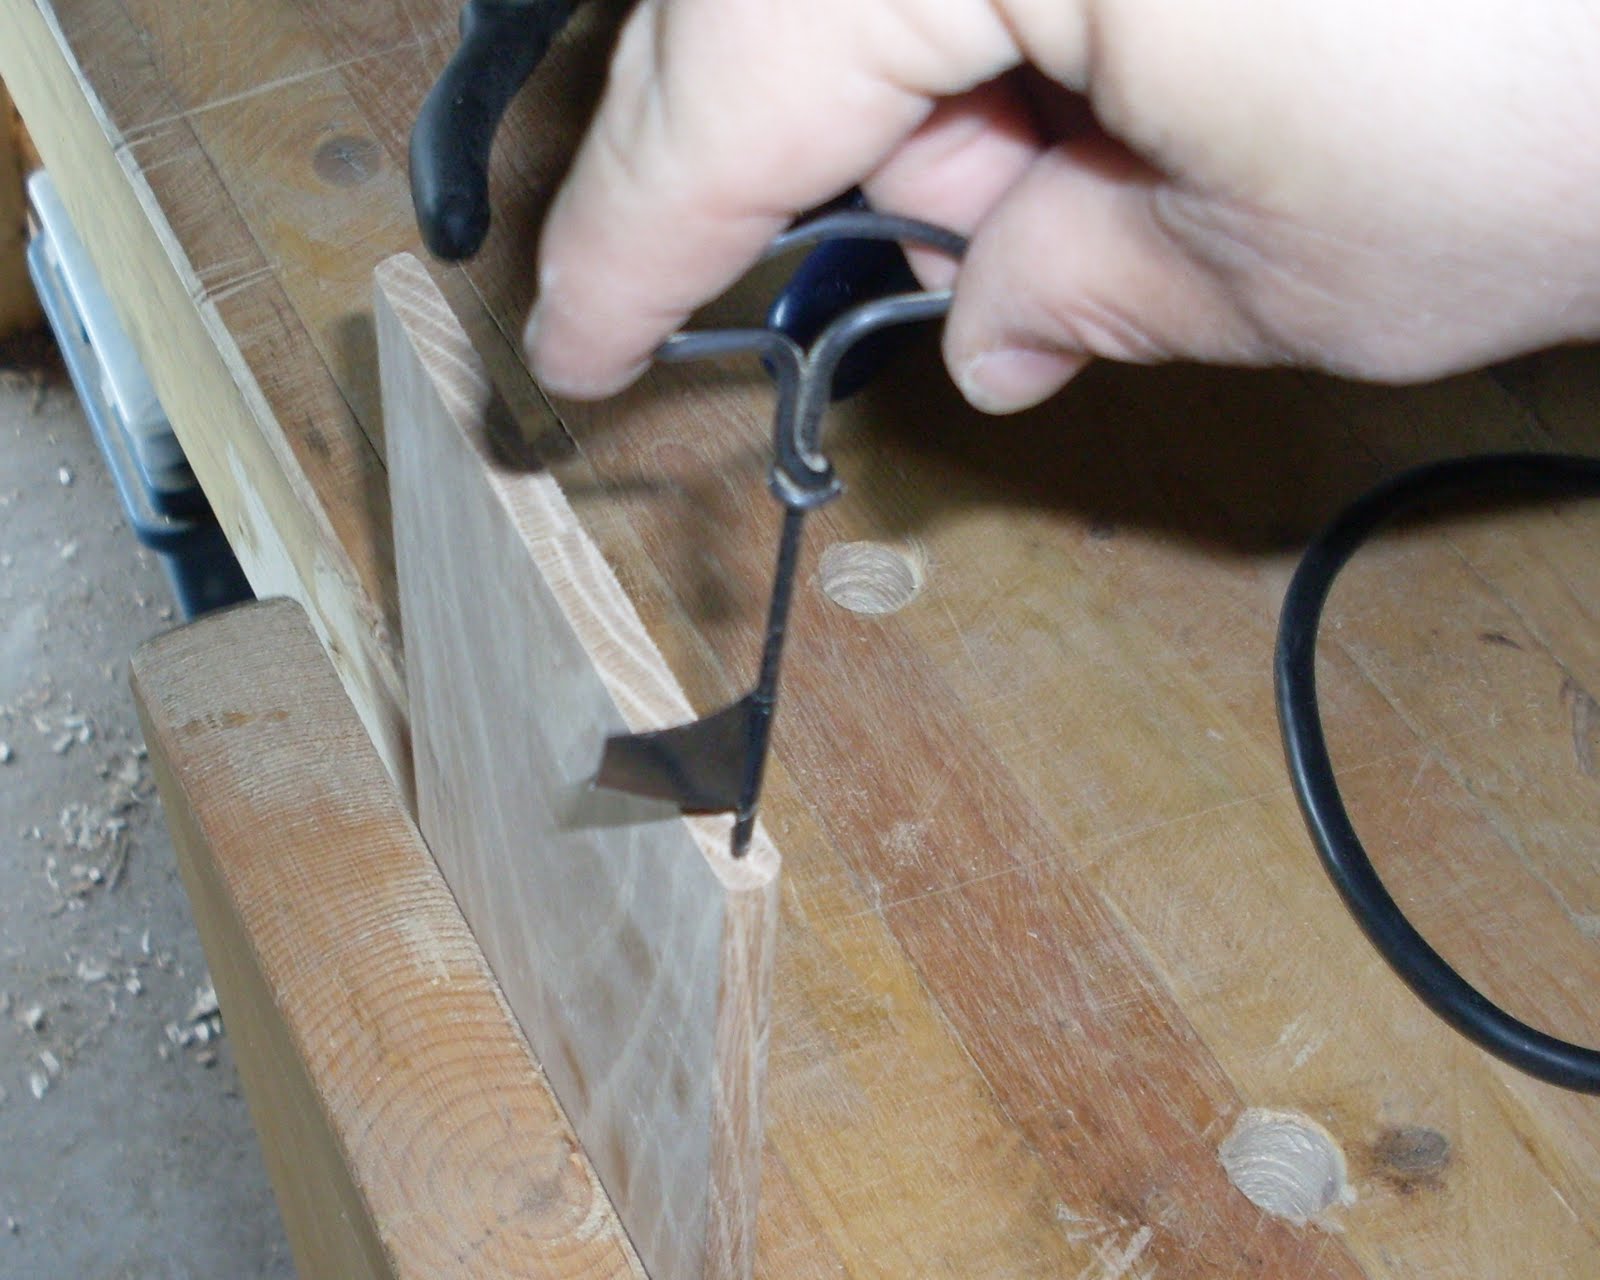
 Then I went at the material to be removed by alternating back and forth between a 1/4" chisel and a router plane with a 1/4" straight blade.
 It is difficult to see in this picture but it shows on the panel how I went over the side with a small thumb plane to narrow down the edge of the panel to fit tightly into the groove. You can also see the haunch or step I cut in the top of the panel which helps to hide the top of the dado groove from showing on the finished piece.
 Everything set I gave the two stationary panels of the till a dry fit. I was pretty happy how this was working out.
 Then there was making the hinged lid. In the past my favorite weapon of choice here was a section of 1/4" brass rod. Well I used up the last of that a while ago, and I neither wanted to go out and buy some for this, nor did I think it would work very effective. The brass rod always seemed a waste to me because you could not see it. As I cut the dados I thought about alternatives. It seemed to me that if I were to cut the head off a 4 penny finishing nail (1 1/4" cut down to 1") that would be very effective.
 I marked out the space for the nail pin in the lid with a scratch awl and followed that up with the appropriate size gimlet to hollow out the space. I did not want a tight fit for the pin, I over drilled the size and then glued in the pin to the lid with some CA glue.


 Then I eyeballed and drilled out the space for the pin in the sides of the chest, No CA glue this time, I want this side to spin free. Infact I added a little wax to the pin before I went for the whole glue up.
 With the till cut and fit and everything working well I went for another stage of glue up. Yes if you look at the piece in the picture below you would be correct in noticing the sides are not involved in the glue up. They come along on the next stage
 You can see from the pic that by the time I got this far it was getting dark outside so I called it a night to let the glue up dry and come out the next day to tackle the rest of the assembly of the main chest body and the creation of the lid.
Cheers
Oldwolf
Here I am using a whole article to explain just how I fit and set the till for the chest. A till is at least the verbiage I use for the small segregated area on one side of the chest's interior. Its a nice place to store more delicate or smaller items.


I had the choices of using a 1/4" straight bit in the router to plow out these grooves, but honestly, in those situations I feel like I have less control than I'd like. So I stayed with the hand tools on this one, besides any excuse to use my router plane. I carefully measured, and remeasured, and remeasured again to set out where I wanted the dado's cut using a carpenter's square to set the angle at a good 90 degrees and making sure there was space for the lid to lay down flat with the larger chest lid closed. I then shortened the dado on what would be the upright panel by another 3/8ths inch so I could cut a haunch in the panel to help hide the dado. With a 1/4" drill bit I bored the ends of the cut to a 1/4" deep.


Cheers
Oldwolf


The one thing that keeps popping up in my mind is how hard it is to make a period piece like this. It is so easy to get drawn into later construction methods that might be stronger or longer lasting for wood movement and such. Then the dilemma of making it look aged or adding some "distressing" to make it look like the surviving pieces. I do really like the approach you took of making it look like an original would have looked when delivered. Let it build its own character over time.
ReplyDeleteThank you again for your kind words and support David.
ReplyDeleteAs far as construction methods and the "to distress or not to distress" debate, I guess I have always tried to keep it as simple as possible and try to remind myself to do so. I really just try to do what the piece asks for, the only thing that gets in the way of that is if my level of skill is up to the challenge. At times the answer is yes, other times not so much,
my favorite thing about this piece is how technically "clean" it is, not as much for me to pick apart (being my own worst critic)
Oldwolf