
Dovetail Layout Part 5: Working the Skinny

Fine Woodworking Magazine has a reader's gallery section and years ago I remember seeing in those pages a blanket chest with an over-abundance of narrow pins lining the corners (at least I think it was a blanket chest, further back than yesterday gets a bit fuzzy sometimes).
The wood was beautiful, the proportions were correct, but the dovetails were obvious, overstated, and distracting to the success of the piece. They drew attention seemed to communicate "Hey look at me I can cut lots of dovetails, I'm a good woodworker right?" It's possible someone else would see a different perspective, but I do remember my wife paging through the magazine and saying "Wow, that looks like a lot of work." Instead of seeing the piece as a whole, she had focused on the dovetails as well.
Now maybe that is exactly what the artist was after, but I doubt it. I can't fathom taking the time to build a whole piece of furniture just to show off my dovetailing abilities. Instead I guess I decided to write a series of blog posts about dovetailing instead (insert sheepish grin here). In design, narrow pins have a power to them that when used judiciously and wisely can bring a real "Wow!" factor. But when they are overused, they can overpower a design, and the "Wow!" gets lost in the noise.
Now for the truth. Before I started this exploration I have never cut these thin pins before. I found the techniques to be the same as any other dovetail joint but the layout is important. I decided to take this chance to recreate the thin-pin-madness I remembered from the magazine all those years before. Maybe there's something to be said when I can't remember the exact piece, the color of the wood or any real details, but I can picture the joint and how it looked. That does say something doesn't it?
If you've been following along on this odyssey lately you've read where we've come from already. If you're new to the journey or want to refresh your memory all the previous posts have been collected together HERE.

No chisel to size the layout or any other fancy tricks. I measured out these lines with a folding rule and extended them square with a small try square. Again I really didn't super plan out the spacing I let my eyes be the best judges of the work. I knew I wanted an odd number because I thought the center pin should be centered on the board. From there I just divided it out proportionally.
If you go through the process of laying these lines out and decide there are too many, or maybe not enough, then two quick thin passes with the block plane and you can have another go at it.


Then I go to work with the bevel gauge, marking the angles of the would be pins.

Then for these I decided to shade in the waste completely to give me a better look at what I was going to end up with. I think that if I were to use this design for a piece I would have decided to eliminate, at least, every other pin I have shaded in here.

Marking the end grain of the mating board was a tricky thing. There pins are too narrow for either my mechanical pencil or my marking knife. I ended up using a utility knife with a razor blade. I think I've seen Rob Cosman do that and I know he favors these small pins, at least in his 3 minute dovetail video.
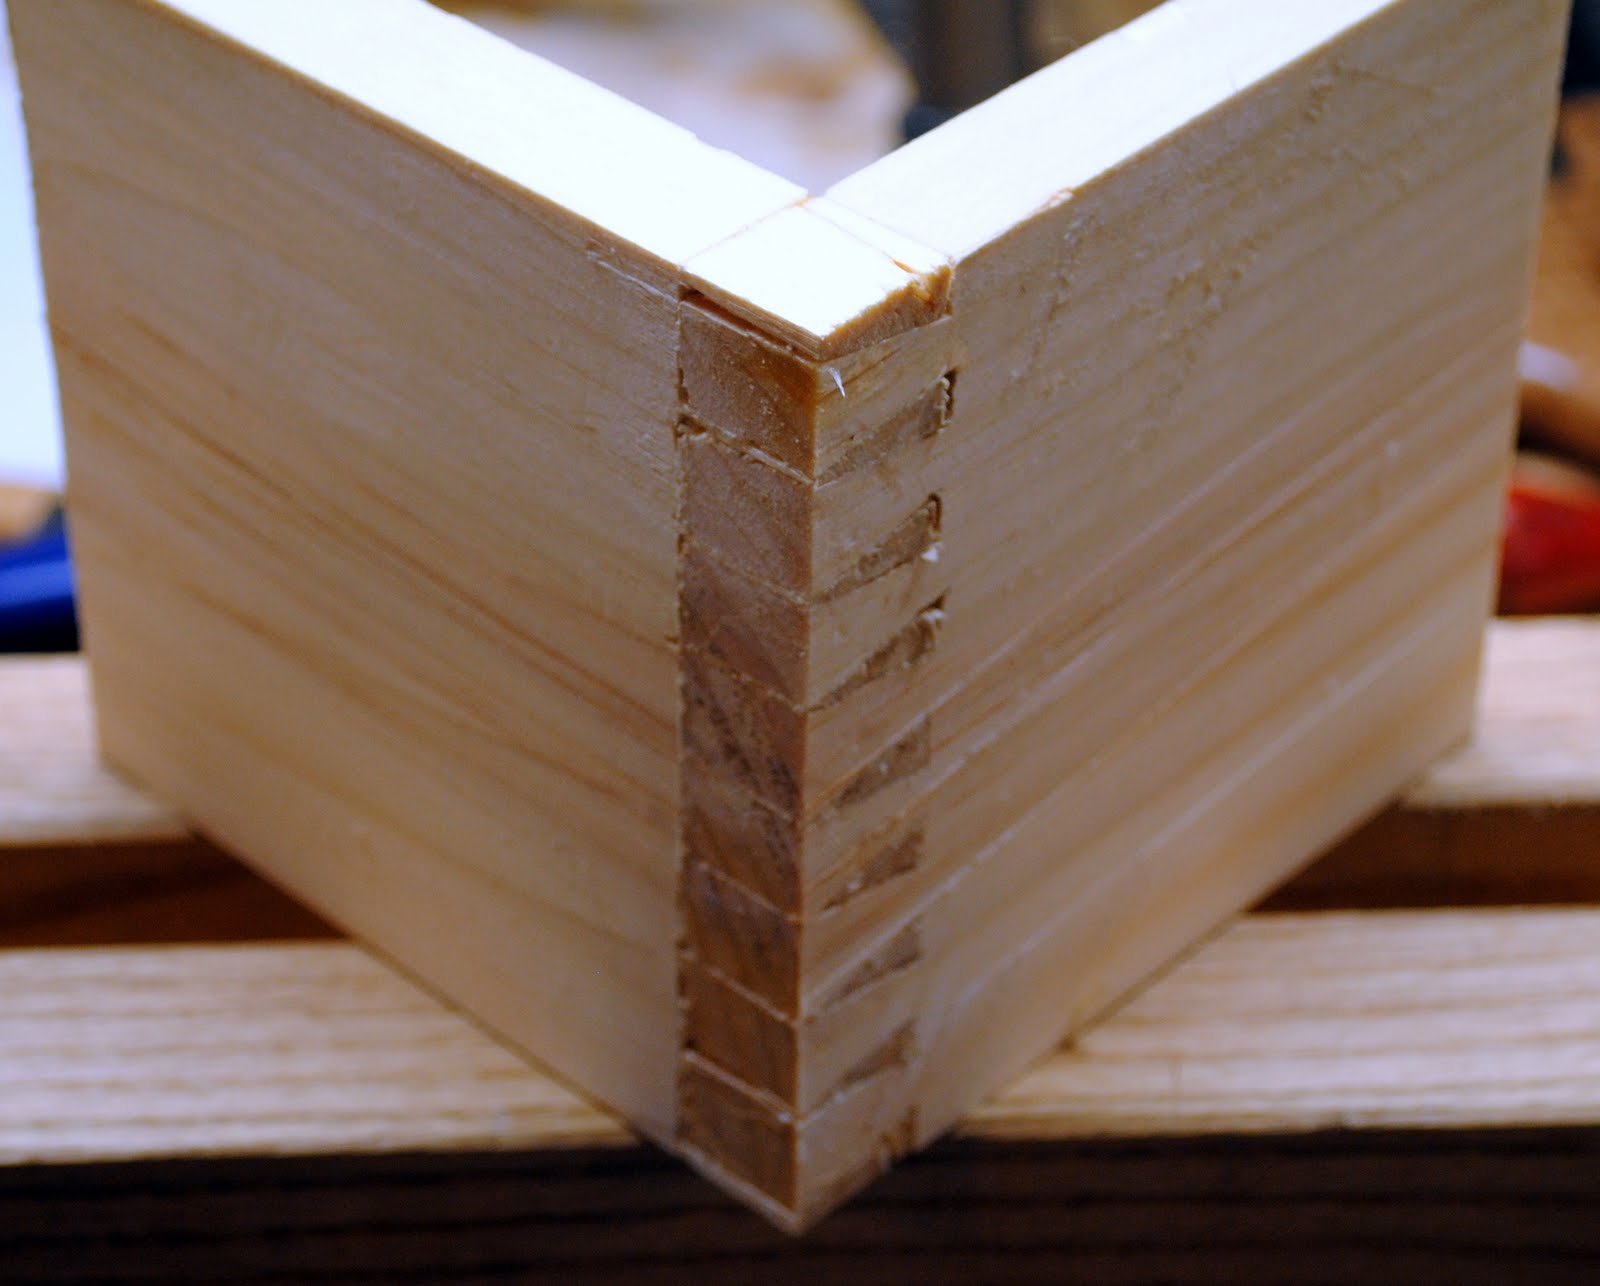
Unfortunately the jack plane clean up tore up the end grain pretty good on this one. I did sharpen the blade after this but decided to move on. I think that it's the massive amount of end grain on the one side that puts me off when using this technique as a through dovetail. In a half blind dovetail or maybe with a veneer over the left face I would be much more ready to accept it.
Well that finishes what I have to say about standard, measured pins and tails, In the next few posts to finish up the series, we'll start to stretch our wings a bit and see where a little creativity with dovetails can take us.
Cheers
Oldwolf


Wow, that's a lot of pins! I can really see how that could be distracting from the look of an overall piece with a long row of them. But I bet with a small, simple project they could be a real design feature. And with the all the cutting required it would have to be a small piece! ;)
ReplyDeleteI'll give it a try one day for no other reason than to see if I can. Looking forward to other layouts.