
Joining The Inner Frame
As I work through building my own version of Chuck Bender's William and Mary bookstand, I am continually blown away with the amount of work that goes on in this little piece. I recall looking at in in the "Art's and Mysteries" section of Popular Woodworking Magazine and thinking to myself, what a cool project to eat up a little stock and a weekend or two. Well I was wrong when I thought that and if I really paid attention, I would have realized that.
 I cannot recommend a better workout for an array of basic woodworking skills. For a smallish size piece, its at least an intermediate level build. (I know, I know, don't judge a piece by it's size) Just off the top of my head the skill set includes.
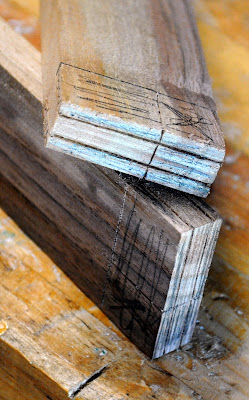
 At this point I am ready to cut the mortise and tenons holding together the inner frame that will eventually support the book itself. I start by marking out my tenons using a marking gauge. I like to darken the lines in with pencil to help me see them as I cut, especially on this dark walnut.
 A small tenon saw cuts on the waste side of the marked lines.
 On small tenons like these I take the cut in two stages, I start on the closest corner and saw until I nearly touch the baseline. . .
 Then I level the saw and draw the cut down until it's level at the baseline on both sides of the stock.
 A little chisel work then because it's "first class" saw cuts all the way.
 With both tenons cut, I'm ready to start the mortises. I am unconventional because I cut my tenons first and use them to layout my mortises. I know most people cut mortises first, but this way works for me and garners good results. I stick with it because in the end, its the results that matter.
 Using the tenons as a guide, the mortises get marked out.
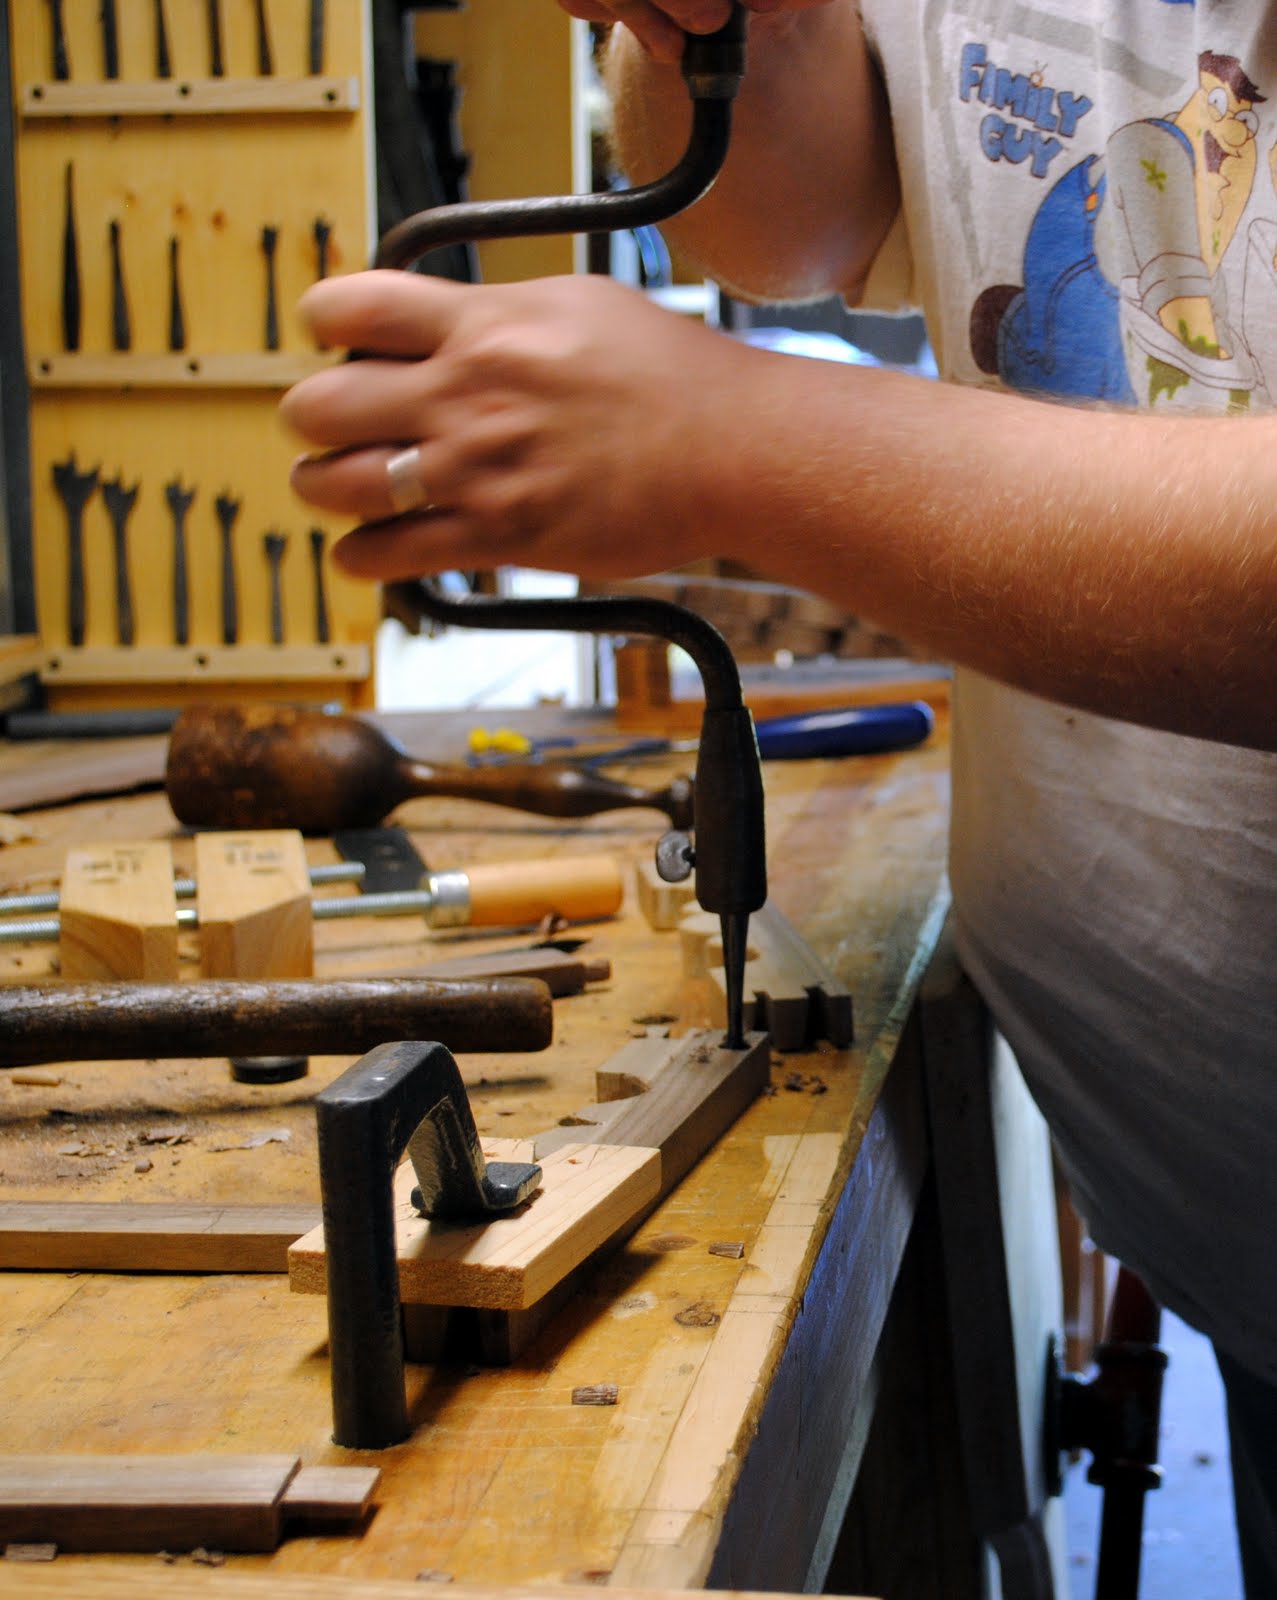
 I learned this trick from Roy Underhill. The piece is so narrow and chopping mortises has the possibility of blowing out the thin sides. With the stock placed in a wood clamp the thin sides are reinforced and blow out is much less likely. I don't always drill my mortises but removing stock to make the mortising easier seemed to make sense this time.
 It was off to work with the mortising chisel, some call it a pig sticker, but I can't say that, or type it, without some immature giggling, I know sometimes I'm just stuck in middle school mentality.
 With the mortises chopped out, I dry fit the frame together. You'll notice the bottom section wider. this gets cut down and sized with the doweling plate to make a pair of 3/8" round pegs. These will be the hinge that the books support turns on.
 I mark the drill points for the hinge in the sides of the outer frame. . .
 . . . and drilled them out with a brace and a 3/8" spade bit.
 Then a dry assembly. Yes I drove my marking awl into my benchtop to make the frame sit up pretty, but it's just a benchtop and it's meant to take abuse. When its toast, I'll build another. Wait until you see me nail something down to it, then you'll really freak out.
 How's this for drama? Next is turning the little bun feet.
Ratione et Passionis
Oldwolf

- Milling pieces to size and thickness.
- Through dovetailing.
- Proportional layouts with dividers.
- Decorative relief cut-outs.
- Blind mortise and tenons.
- Turning small pieces.
- Through mortise and tenons.
- Planing for moving elements in a piece.
- Complex glue ups.
- Careful finishing strategies.


Ratione et Passionis
Oldwolf


Is it hinged or does it just rest on the stretcher?
ReplyDelete